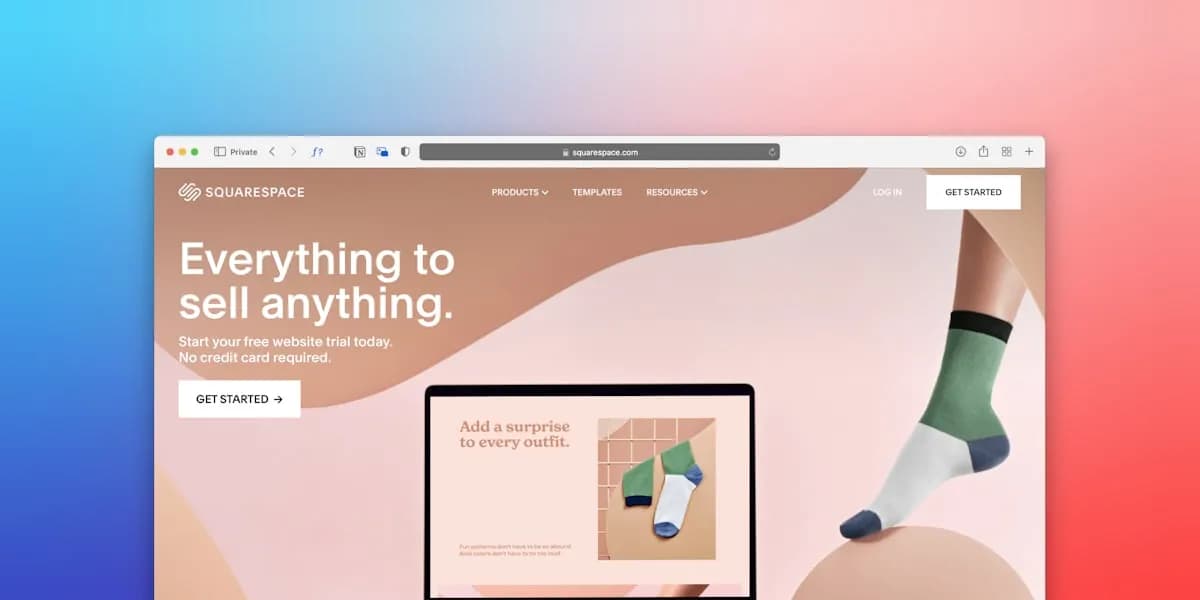
Squarespace makes it easy to build a polished website, but it does not include a built-in AI chatbot. If visitors land on your site at 2 AM with a question about your services, nobody is there to answer. They leave. A chatbot trained on your content handles those conversations around the clock without you lifting a finger.
This guide walks through the entire process: creating a chatbot, training it on your Squarespace site content, embedding it via Code Injection, and configuring it for the best results. The whole setup takes about 15 minutes.
Why add a chatbot to Squarespace
Squarespace sites are typically used by service businesses, creatives, small ecommerce shops, and portfolio-driven brands. These sites all share the same problem: visitors have questions and the site owner cannot answer them in real time.
A chatbot handles the repetitive questions that come up constantly:
- Service businesses: "How much do you charge?" "Do you offer virtual consultations?" "What are your hours?"
- Ecommerce shops: "What's your return policy?" "How long does shipping take?" "Is this available in blue?"
- Creatives and agencies: "Are you available for freelance projects?" "What's your turnaround time?" "Can I see more examples of your work?"
- Restaurants and local businesses: "Do you take reservations?" "What are today's specials?" "Where are you located?"
The chatbot answers based on the content you train it on. It is not making things up. It is pulling answers from your actual pages, FAQ content, and any additional material you provide.
Beyond answering questions, the chatbot captures leads. When a visitor shows buying intent, it can collect their name and email so you can follow up. That contact would have otherwise bounced from your site without a trace.
Before you start
You need two things:
1. An Agentkit account with a trained chatbot.
If you do not have one yet, sign up for free and create your first chatbot. The free plan gives you 1 chatbot and 50 messages per month, which is enough to test the setup.
2. Your Squarespace site on a Business plan or higher.
Squarespace Code Injection is only available on the Business plan ($33/month) and all Commerce plans. If you are on the Personal plan, you will need to upgrade before adding any custom scripts.
Step 1: Create and train your chatbot
If you already have a trained chatbot, skip to Step 2.
- Log in to the Agentkit dashboard.
- Click Create Chatbot and give it a name (e.g., your business name).
- Go to Sources and add your Squarespace site URL.
- The crawler will index your pages automatically. It follows links from your homepage, so it picks up your About, Services, FAQ, Contact, and product pages.
- Wait for the crawl to finish. Depending on site size, this takes a few seconds to a few minutes.
After the crawl completes, test your chatbot in the Playground. Ask it the kinds of questions your visitors would ask. If it misses something, add Q&A pairs for those specific topics.
For detailed training guidance, see How to Train a Chatbot on Your Website Content.
Training tips for Squarespace sites
Squarespace sites tend to be visually rich and text-light. This can limit what the crawler picks up. To get the best results:
- Add Q&A pairs for critical topics. If your pricing is shown in a visual layout that the crawler cannot easily parse, add a Q&A pair with your exact pricing details.
- Use text snippets for seasonal information. Holiday hours, limited-time offers, and event details change frequently. Text snippets let you update these without re-crawling.
- Upload documents for detailed content. If you have a PDF menu, service catalog, or rate sheet, upload it directly as a document source.
Recommended training sources
| Source type | What to include | Priority |
|---|---|---|
| Website URL | Your full Squarespace site | High |
| Q&A pairs | Pricing, hours, booking process, top FAQs | High |
| Text snippets | Seasonal info, current promotions, temporary policies | Medium |
| Documents | PDF menus, catalogs, rate sheets, portfolios | Medium |
Step 2: Get your embed code
- In the Agentkit dashboard, go to your chatbot's Settings then Embed.
- Copy the JavaScript widget code. It looks like this:
<script
  src="https://cdn.agentkit.ai/widget.js"
  data-chatbot="your-chatbot-id"
  async>
</script>
Keep this snippet handy. You will paste it into Squarespace in the next step.
Step 3: Add the chatbot via Squarespace Code Injection
Squarespace provides a Code Injection feature that lets you add custom scripts to your site header or footer. This is the recommended method because it loads the chatbot on every page and survives template changes.
- Log in to your Squarespace account.
- Go to Settings in the left sidebar.
- Click Advanced.
- Click Code Injection.
- Scroll down to the Footer section.
- Paste the Agentkit embed script into the Footer box.
- Click Save.
That is it. The chatbot widget will now appear on every page of your Squarespace site.
Why the footer and not the header
The footer is the correct placement for the chatbot script. Scripts in the footer load after the page content renders, so they do not slow down your initial page load. The Agentkit script also includes the async attribute, which means it loads in parallel with other resources and never blocks rendering.
Placing it in the header would work technically, but it is unnecessary and could slightly delay first paint on slower connections.
Step 4: Verify the installation
- Open your Squarespace site in a new browser tab (not the Squarespace editor preview).
- Look for the chat bubble in the bottom-right corner.
- Click the bubble to open the chat window.
- Send a test message to confirm the chatbot responds with information from your site.
- Check the chatbot on mobile by opening your site on your phone.
If the chatbot does not appear immediately, try these steps:
- Clear your browser cache or open the site in an incognito window.
- Wait 1-2 minutes. Squarespace may take a moment to propagate Code Injection changes.
- Check the Squarespace editor. The chatbot will not appear in the Squarespace visual editor or page previews. You must view the live published site.
- Confirm your plan. Code Injection requires the Business plan or higher. If you are on Personal, the script will not load.
Step 5: Configure for best results
With the chatbot live, head back to the Agentkit dashboard to configure a few important settings.
Domain restriction
Go to your chatbot's Settings and add your Squarespace domain (e.g., yourdomain.com) to the allowed domains list. If you also use the default Squarespace URL (yoursite.squarespace.com), add that too. This prevents anyone from copying your embed code and using your chatbot on an unauthorized site.
Welcome message
Set a welcome message that tells visitors what the chatbot can help with. A generic "How can I help?" is fine, but something specific works better:
- "Hi! I can answer questions about our services, pricing, and availability."
- "Welcome! Ask me about our menu, hours, or catering options."
- "Need help? I know all about our products, shipping, and return policy."
Specific welcome messages set expectations and encourage visitors to ask the right kinds of questions.
Lead capture
Enable the lead capture action to collect visitor emails. When a visitor engages in a meaningful conversation, the chatbot can prompt them for their contact information. Captured leads appear in your Agentkit dashboard and can be sent to your email marketing tools via Zapier or webhooks.
For setup details, see the lead capture documentation.
Rate limiting
On the free plan, you get 50 messages per month. Rate limiting helps you stretch that quota by capping messages per visitor per session. A limit of 10-15 messages per session covers most visitor questions without burning through your allowance.
Comparing chatbot options for Squarespace
You have several ways to add chat functionality to a Squarespace site. Here is how they compare.
| Feature | Agentkit | Squarespace built-in chat | Tidio | Drift |
|---|---|---|---|---|
| AI-powered responses | Yes (multiple models) | No | Yes (limited) | Yes (limited) |
| Trained on your content | Yes (4 source types) | No | Partial | Partial |
| Free tier | Yes (50 msgs/mo) | No | Yes (limited) | No |
| Starting paid price | $29.99/mo | N/A | $29/mo | $2,500/mo |
| Install method | Code Injection | Built-in | Code Injection | Code Injection |
| Lead capture | Yes | Yes | Yes | Yes |
| 95+ languages | Yes | No | Partial | Yes |
| Custom training data | Website, docs, Q&A, text | None | Limited | Limited |
| Zapier integration | Yes | No | Yes | Yes |
| REST API | Yes (Hobby+) | No | Yes | Yes |
| Domain restriction | Yes | N/A | No | Yes |
| Auto-retrain | Yes (Standard+) | N/A | No | No |
Squarespace does not have a built-in AI chatbot. Their native chat features are limited to basic forms and manual live chat. If you want AI-powered responses trained on your site content, you need a third-party tool.
Agentkit stands out for Squarespace sites because the setup requires only a single script tag in Code Injection, the chatbot trains directly on your site content, and you can start for free.
Alternative embedding method: per-page embed
Code Injection adds the chatbot to every page. If you only want it on specific pages, you can use a Code Block instead.
- Edit the page where you want the chatbot.
- Add a Code Block (under "More" in the block insertion menu).
- Paste the Agentkit embed script into the code block.
- Toggle Display Source off.
- Save the page.
This method is more tedious if you want the chatbot on multiple pages. For most sites, the Code Injection (all pages) approach is simpler and more effective.
Common issues and fixes
The chatbot does not appear in the Squarespace editor
This is expected. Code Injection scripts only run on the live, published version of your site. Preview mode and the visual editor do not execute custom scripts. Always test on the live site.
The chatbot appears but looks cut off on mobile
The Agentkit widget is responsive by default and adjusts to screen size. If it looks cut off, check whether your Squarespace template has a fixed footer bar or cookie banner that overlaps with the chat bubble. You can adjust the widget position in your Agentkit dashboard settings to avoid conflicts.
The chatbot loads slowly
Confirm the async attribute is present in your script tag. If you are using a Squarespace extension or third-party tool that delays JavaScript loading, whitelist cdn.agentkit.ai so it loads without delay.
Content Security Policy errors in the browser console
Some Squarespace sites or custom configurations add Content Security Policy headers. If you see CSP errors in your browser's developer console (F12), you may need to add cdn.agentkit.ai and *.agentkit.com to your CSP allow list. This is uncommon for standard Squarespace setups.
The chatbot does not answer accurately
If the chatbot gives vague or incorrect answers, the issue is usually training data, not the embed. Go back to your Agentkit dashboard and:
- Check which pages were crawled. Add any missing URLs manually.
- Add Q&A pairs for questions the chatbot answers poorly.
- Add custom instructions to shape the chatbot's tone and behavior.
- Test in the Playground before checking on your live site.
Keeping the chatbot updated
Your Squarespace site content changes over time. New services, updated pricing, seasonal hours. Your chatbot needs to stay current.
| Plan | How to update | Effort |
|---|---|---|
| Free ($0) | Manual retrain in dashboard | Retrain after each significant change |
| Hobby ($29.99/mo) | Manual retrain in dashboard | Retrain after each significant change |
| Standard ($119.99/mo) | Auto-retrain | Automatic, scheduled re-crawl |
| Pro ($399.99/mo) | Auto-retrain | Automatic, scheduled re-crawl |
On the Free and Hobby plans, retrain your chatbot manually whenever you update important content on your Squarespace site. On Standard and Pro, auto-retrain handles it for you by periodically re-crawling your site.
For time-sensitive updates (holiday hours, flash sales, event details), add a Q&A pair or text snippet directly. These take effect faster than a full re-crawl.
Next steps
Your Squarespace site now has a 24/7 AI chatbot that answers visitor questions, captures leads, and keeps working while you sleep. Here is what to do next:
- Monitor conversations in your Agentkit dashboard for the first week. Look for questions the chatbot struggles with and add training data for those topics.
- Set up lead capture if you have not already. Visitor emails are the most valuable output of a chatbot for service businesses.
- Connect to your tools via Zapier or webhooks. Send leads to your CRM, email platform, or a simple Google Sheet. See the integration guide for options.
- Read the Wix chatbot guide if you manage sites on multiple platforms: Wix Chatbot Integration.
- Explore the embed options for other platforms in the complete embedding guide.
No credit card required.